How to set up SSO with SAML
In this article, we'll explain how to configure your Datawrapper workspace so you can use SAML-based Single Sign-On.
Single Sign-On is available for users on the Enterprise plan.
You can find more information about our pricing options here.
To use SSO with SAML, you'll first have to set up a new app integration in your Identity Provider of choice and then navigate to the app's SAML settings. Below, we've linked guides on how to do so for some common IdPs:
Once you are ready to enter the SAML settings information for your integration, follow these steps:
- Open your Datawrapper workspace settings and navigate to the Single Sign-On section. Enable the Enable Single Sign-On switch and select SAML2 as protocol:
- In your IdP SAML settings, specify the following values for the SSO URL aka. Assertion Consumer Service or ACS URL, and Entity ID: SSO or ACS URL (Callback URL):
- In your settings, retrieve the IdP SSO URL and Identity Provider Issuer values, as well as the Certificate file.
- In Okta, the certificate can be found by clicking on the View Setup Instructions button in the application's Sign On tab.
- In Entra ID, navigate to the SAML Certificates section and select Download for Certificate (Raw).
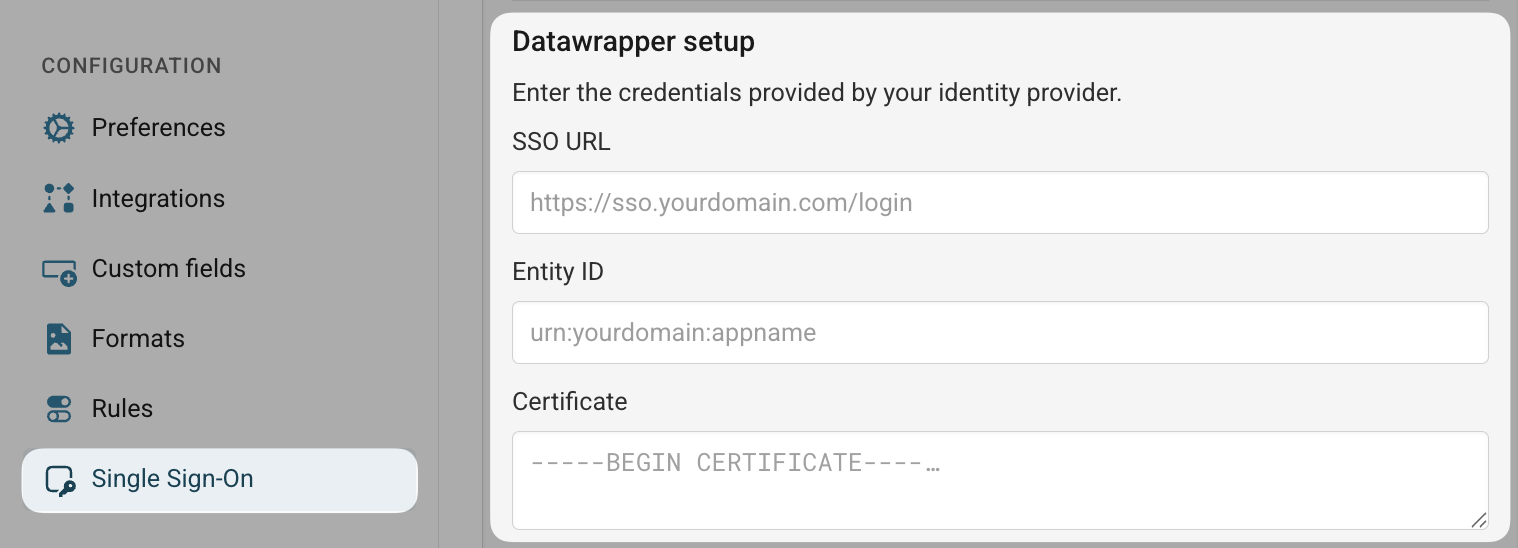
- Copy the first two values into the SSO URL and Entity ID fields in Datawrapper. Access the certificate as raw text by opening the file in a text editor and copy the text into the Certificate field:
- Once everything is filled in, the team signin URL at the very bottom of the page is ready to be used for signing into Datawrapper with your identity provider:

https://app.datawrapper.de/signin/ssoAudience URI (Entity ID):
https://app.datawrapper.de/sp
The expected application username and Name ID format is the user's email address.

