How to edit multiple markers at once
Locator maps can become quite dense with information very quickly; you may be working on a map with dozens of markers, where some should take on similar qualities. The good news is, Datawrapper now makes it easy to edit many markers at a time, to reduce redundant editing. Let's learn how!
Table of contents
- Selecting markers
- Editing multiple markers at once
- Copying and pasting settings
- Duplicating markers
- Hiding, locking, and grouping markers
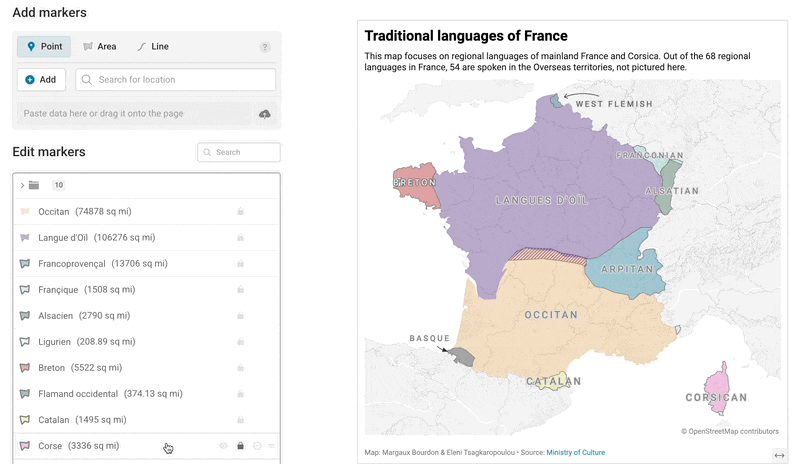
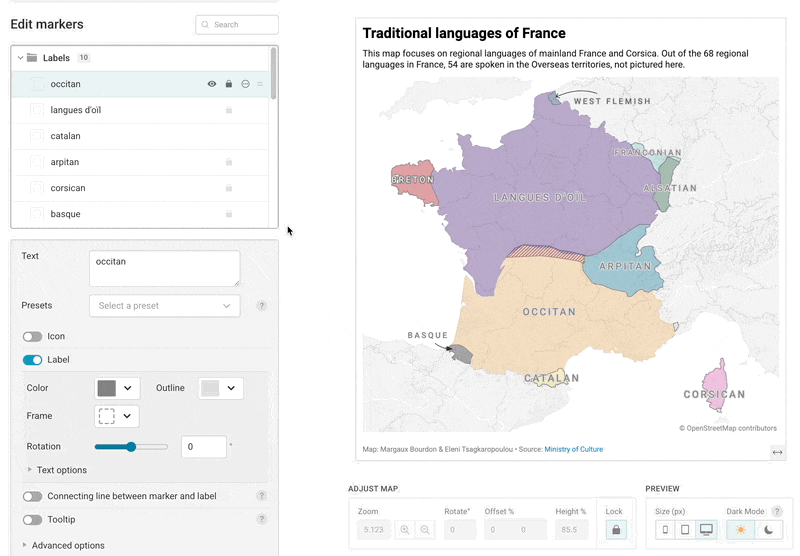
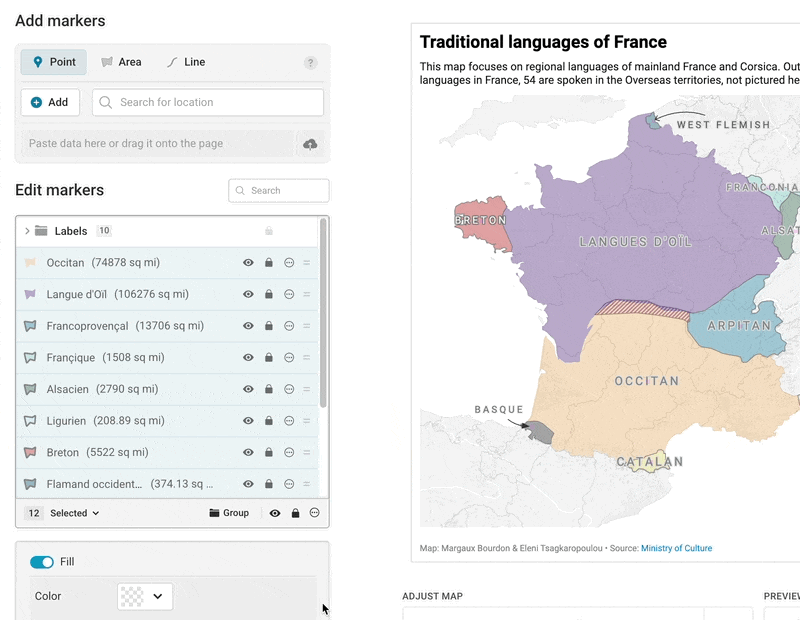
Selecting markers
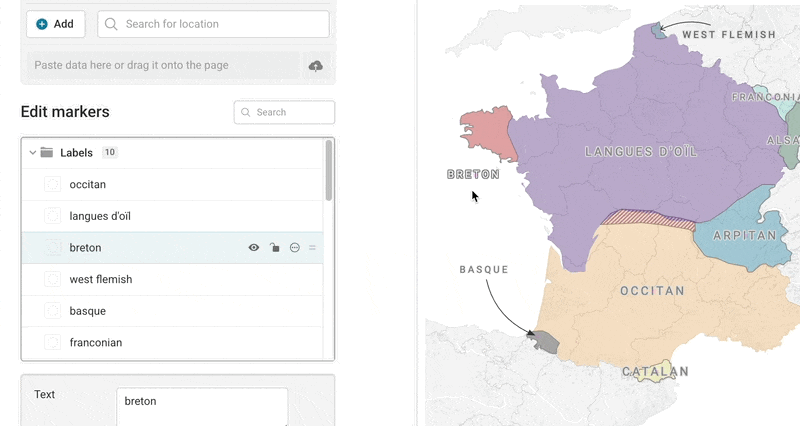
You'll do all marker editing in the Add markers step, and once you have added markers to your map, you can select multiple markers or select groups from the marker list on the left hand side. There's a couple of ways to select elements from the marker list:
- Holding down the Command or Control key while you click on individual markers, will select all of the markers you click on.

- Clicking on a marker, and then holding down Shift while you select a different marker, will select all the markers you've clicked on and all markers between the two.
- You can also click on the Selected text from the multi-select bar underneath your markers, and choose to select all markers or invert your selection.
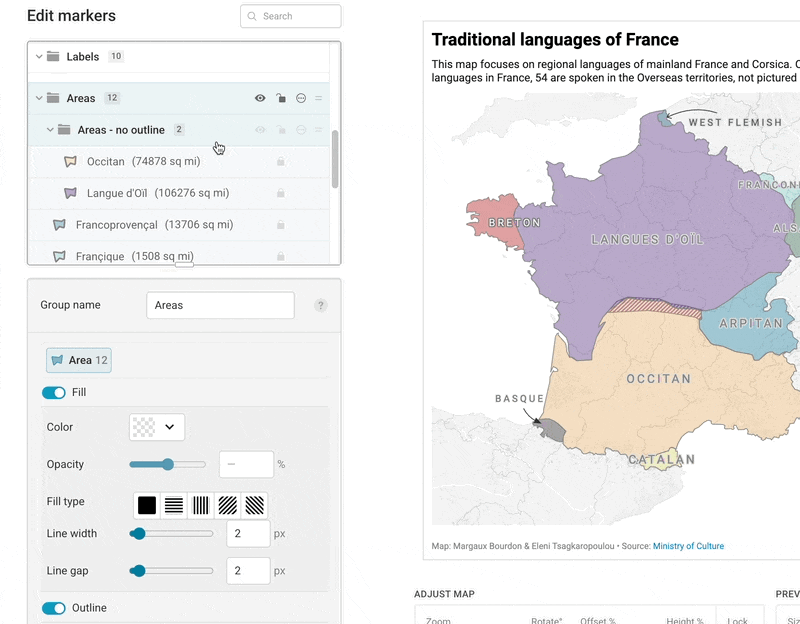
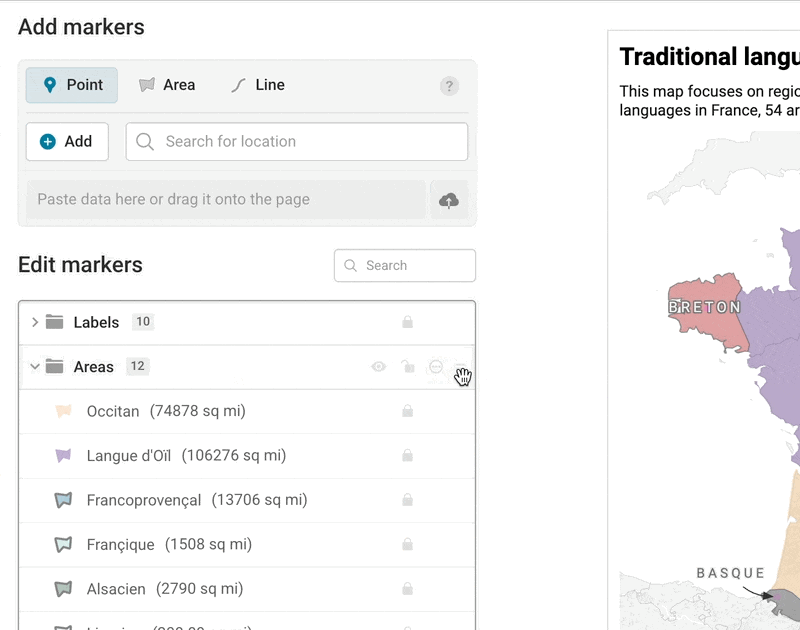
- Selecting a group of markers will also select all the children in that group, so you can edit them at once:
When you have a marker selected, you'll see the multi-select bar appear at the bottom of your marker list. That's where you'll find a menu of controls, like grouping, hiding, and locking, that you can apply to multiple markers in just one click - jump to the bottom of this article for more information about what you can do from the multi-select bar.
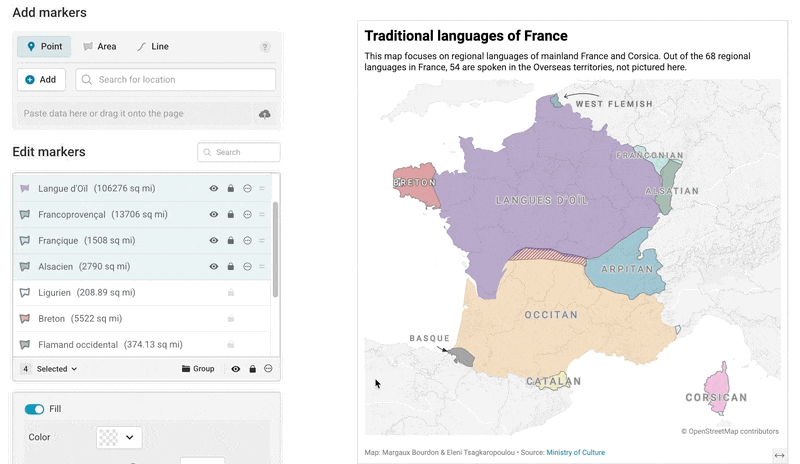
Editing multiple markers at once
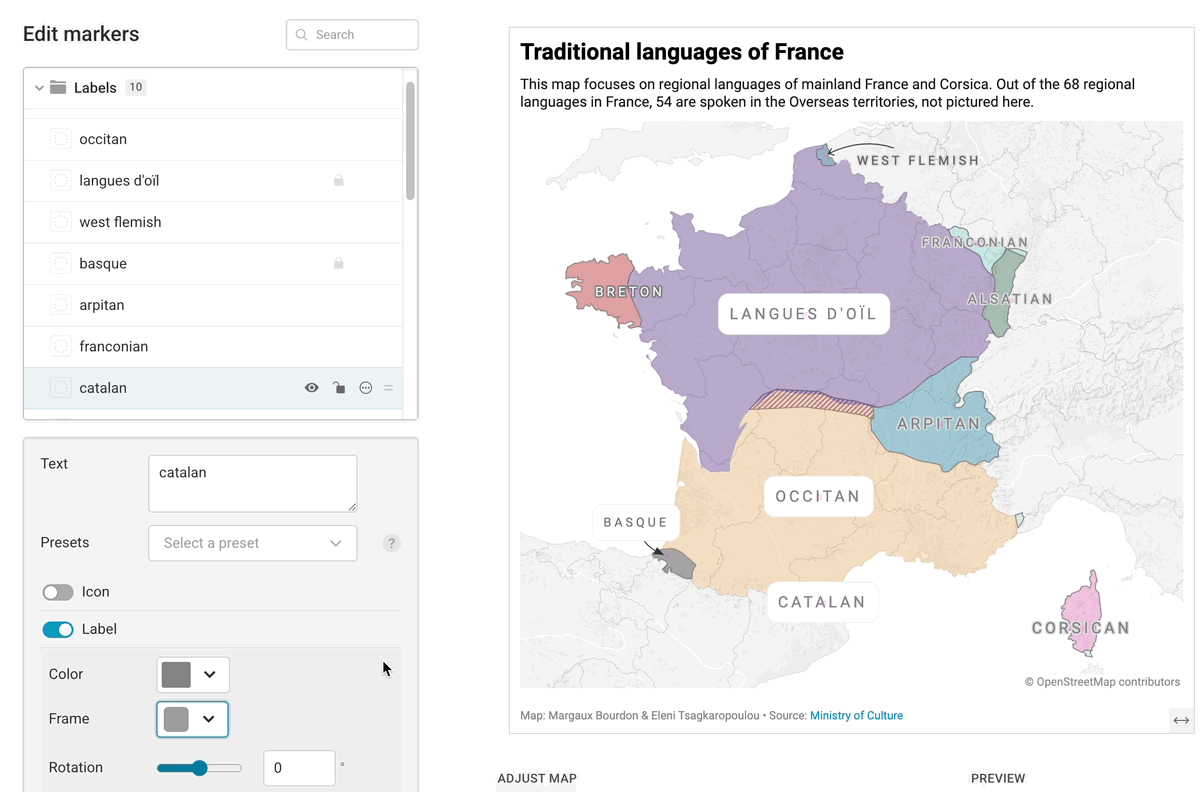
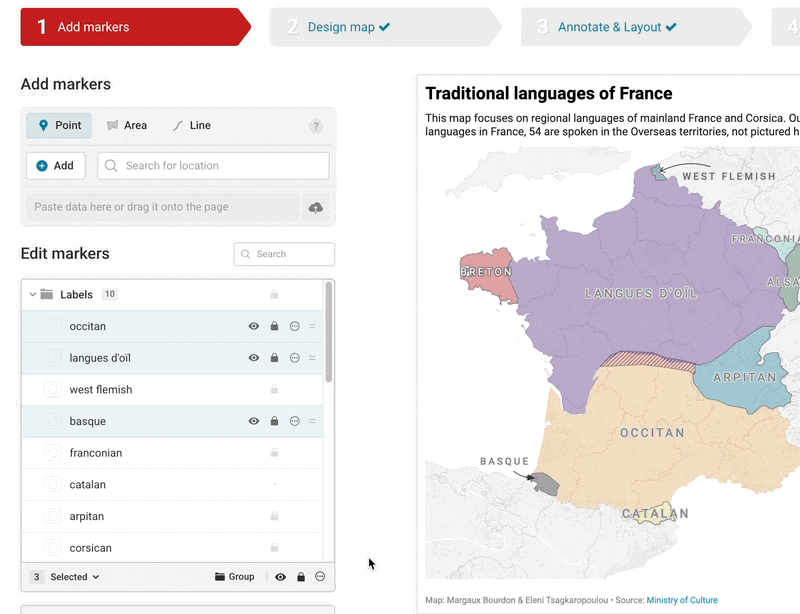
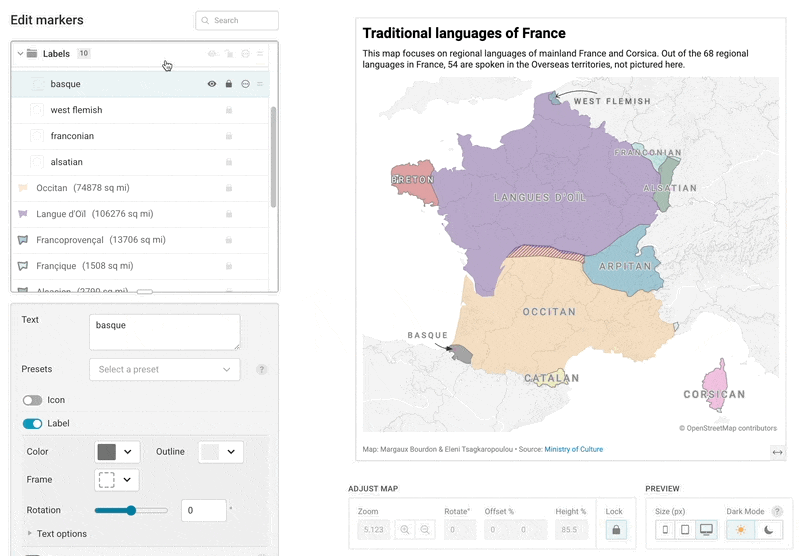
Once you have your markers or groups selected, you can edit them. It's important to note that each type of marker (points, lines, and areas) can take on different properties, so different options will appear depending on what type of markers you've selected.
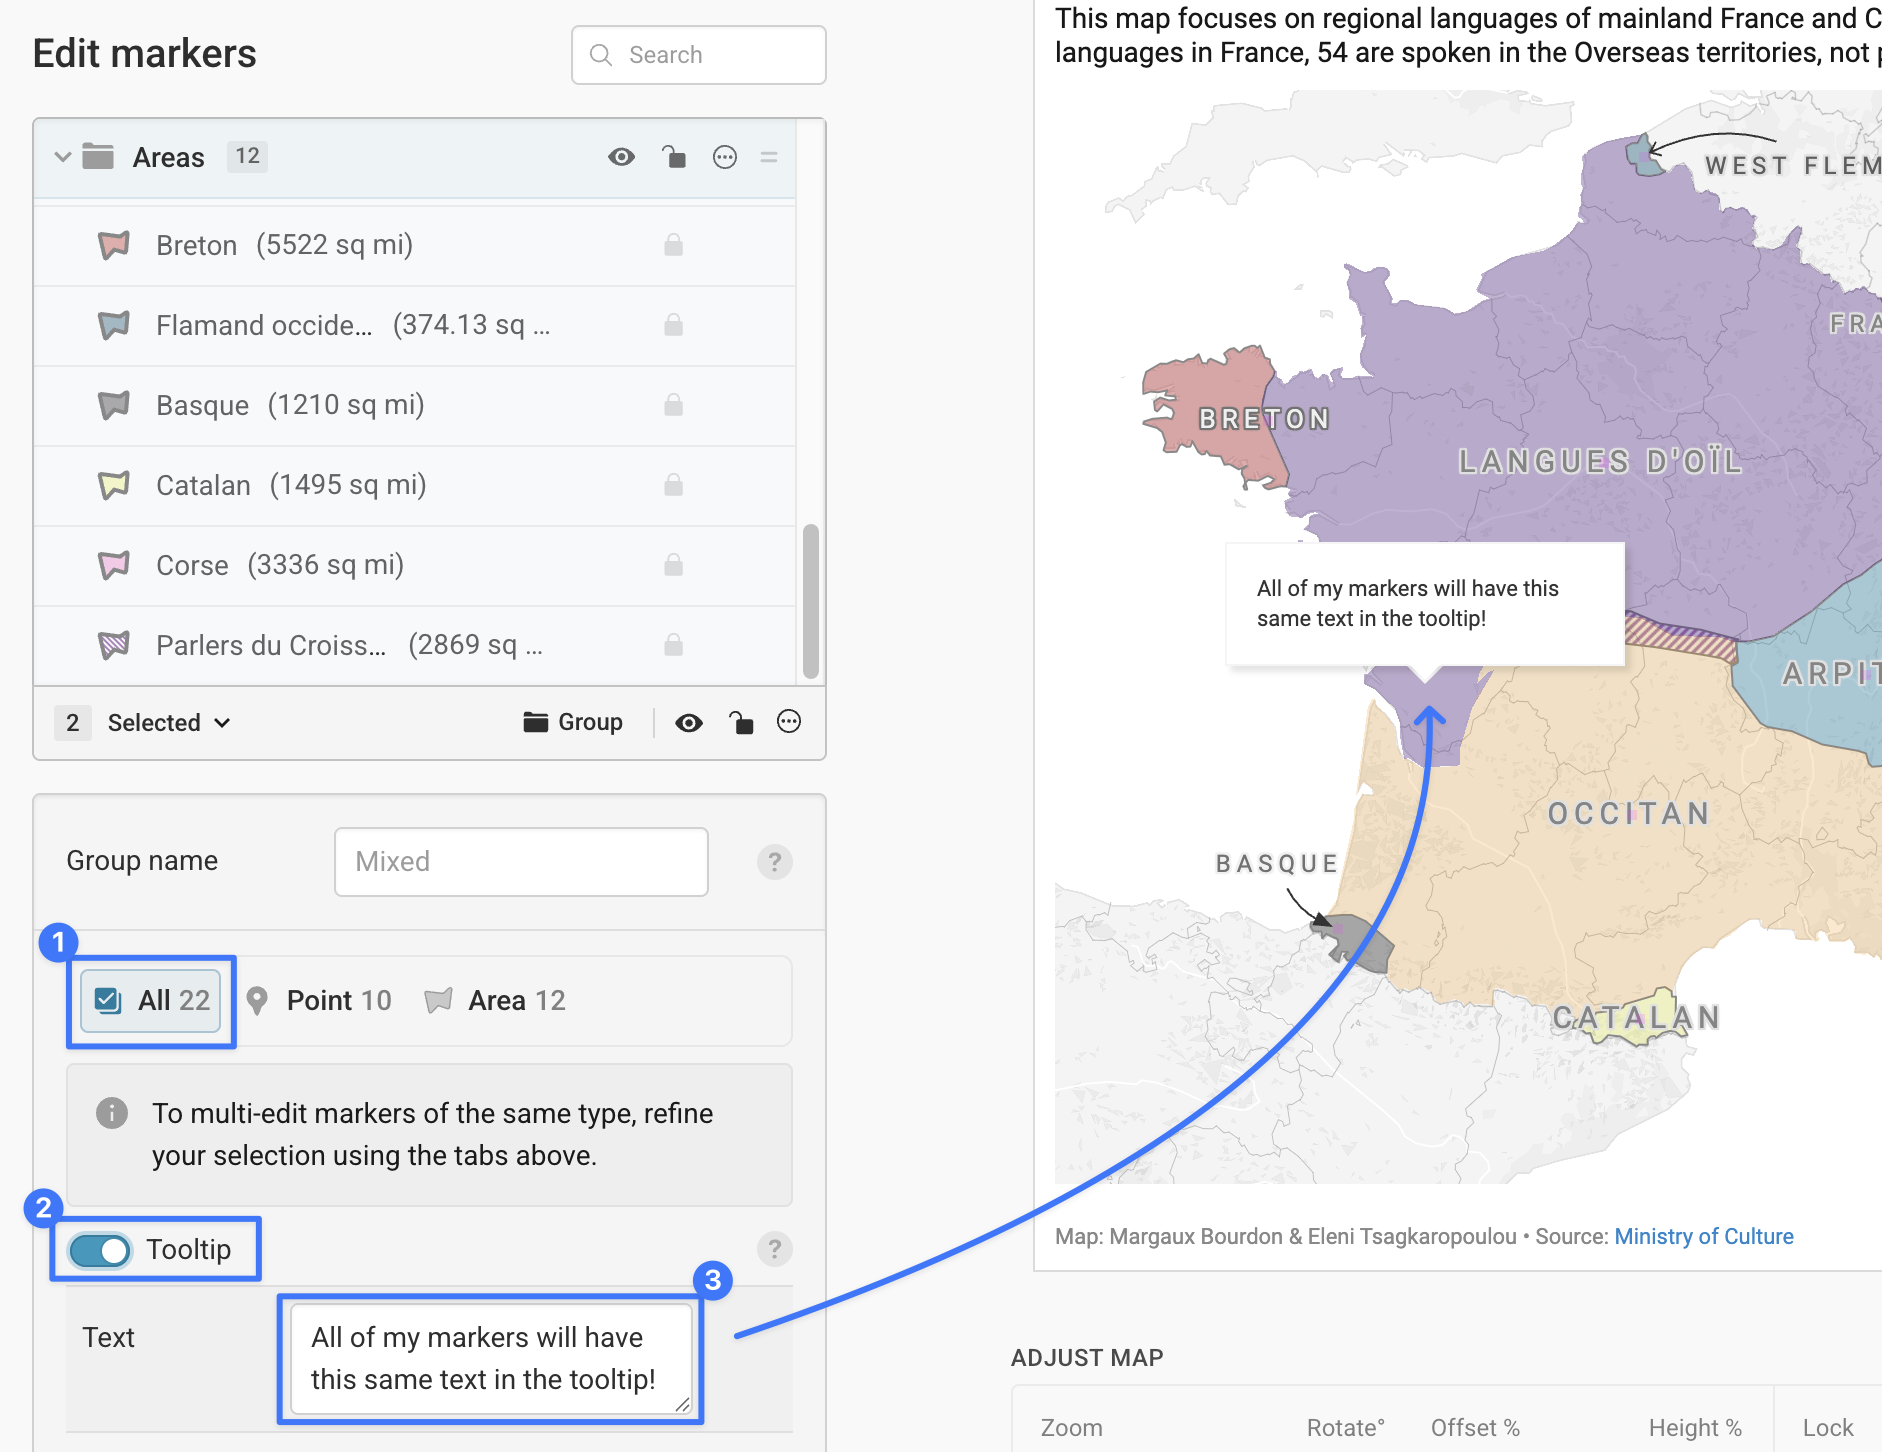
When you select multiple types of markers, you'll see a menu breaking down the editing options by type. The first tab will be All, which includes the attributes that apply to all of your markers. Currently, that's just tooltips, which you can toggle on or add the same text to for all of your markers:
The next tabs in this menu will correspond to each type of marker present in your selection. For example, if you selected multiple point markers, you'll have all of the same point styling options that you can refine in a single point marker ( this article is a nice overview of those styling options for point markers).
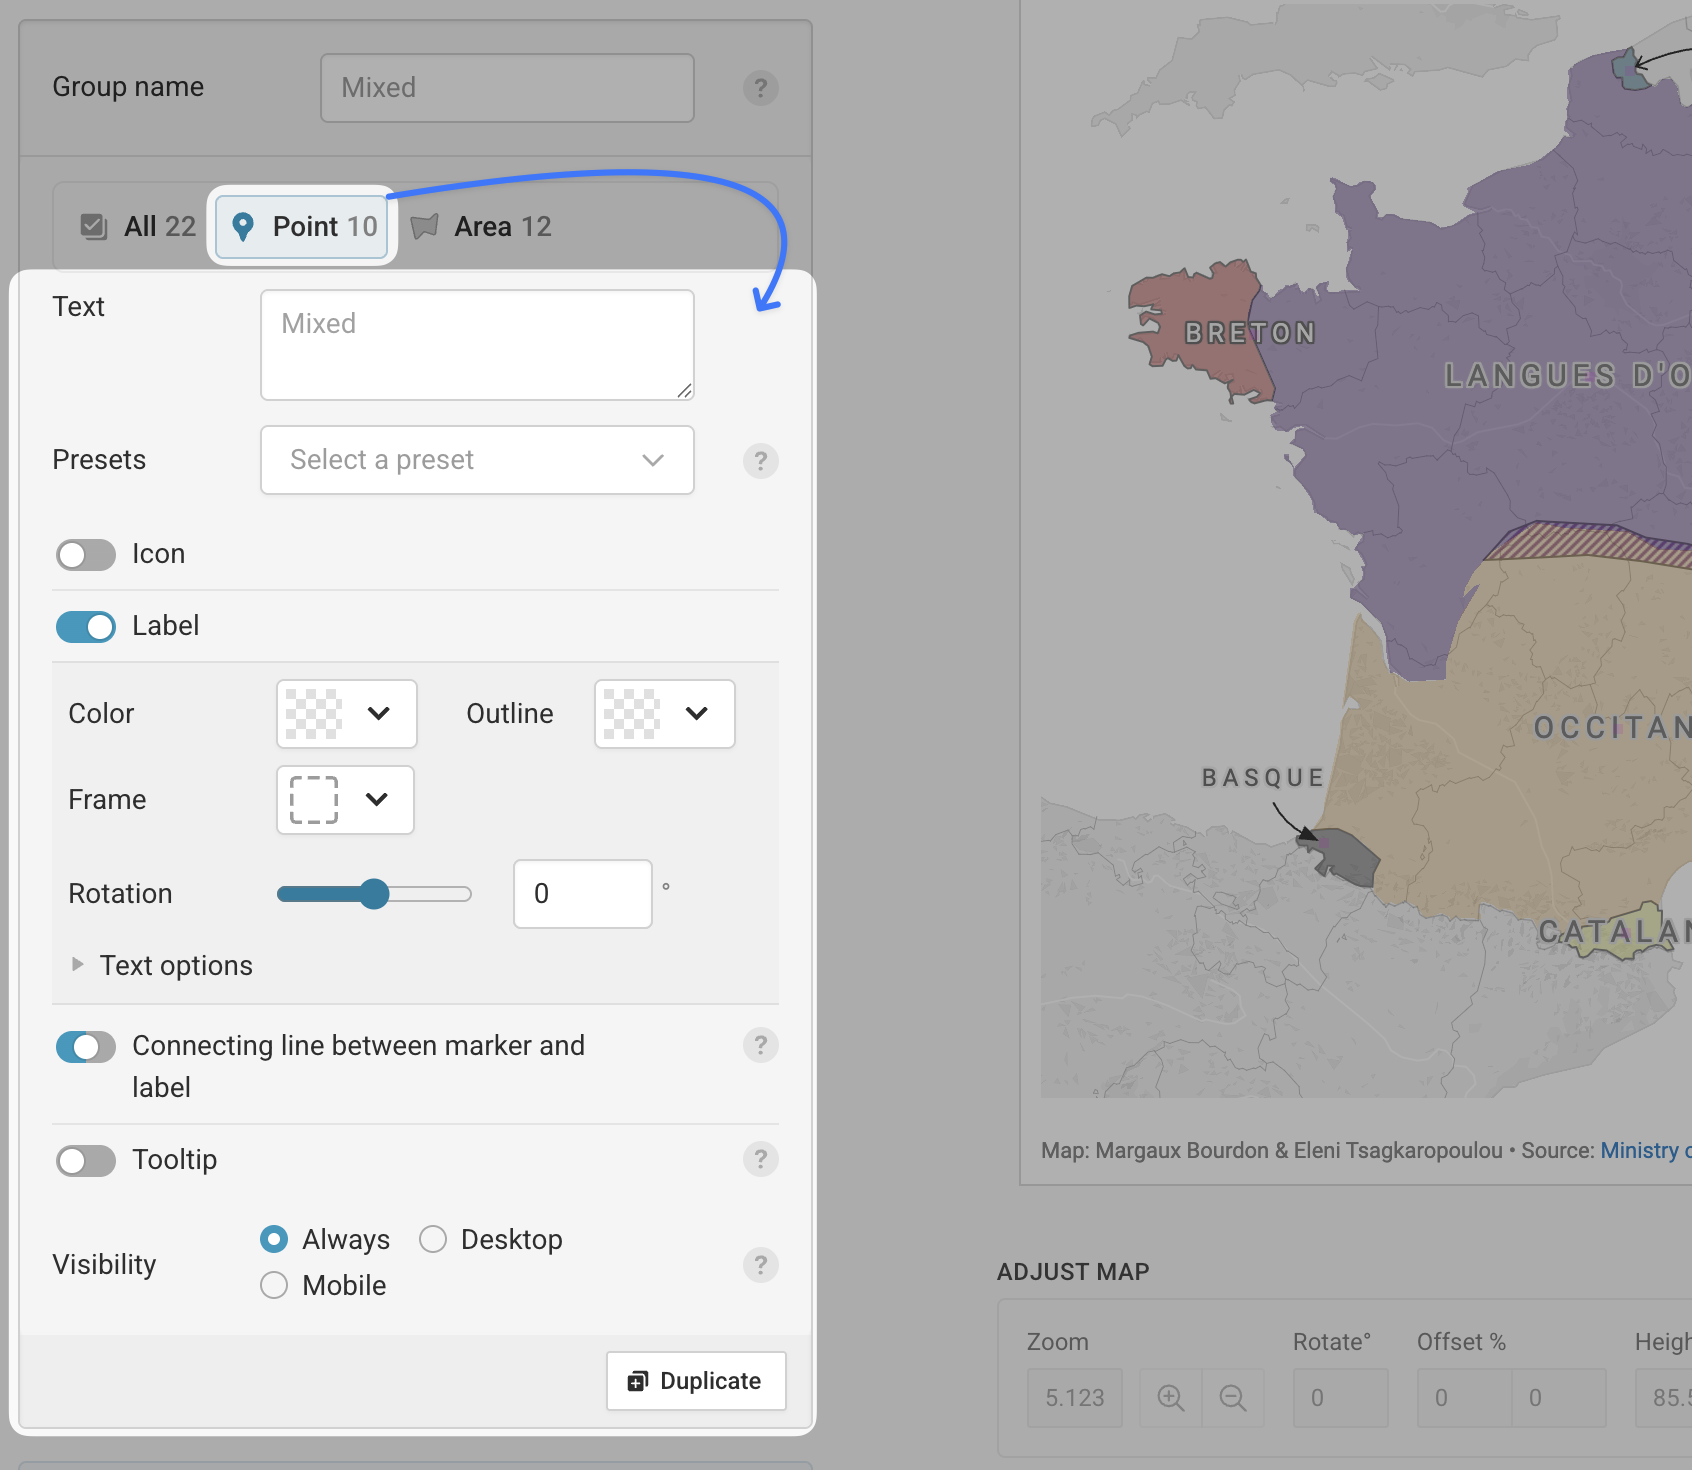
When you have multiple area or line markers selected, you'll also have the full suite of marker settings for those marker types as well. You'll find a breakdown of those options in this article.
Regardless of what type of markers you're working on, the settings you configure in that menu will apply to all of the markers you have selected, so it's a good idea to be careful about what markers you select. This is where grouping markers can come in handy - take a look at this Academy article on how to manage your markers for more on grouping markers!
Copying and pasting settings
Let's say you've already made the edits you need on one particular marker, and you want to apply those settings to a lot of other markers. Copying settings is a way to take those edits and apply them to another (or more than one). To do that, select the marker with your desired settings, and click the three dot menu icon. Select Styles, then choose Copy styles - if you're using keyboard shortcuts, you can use Ctrl/Cmd + Shift + C here. Next, you can select the marker(s) that should take that styling. Click the menu icon one more time, hit Styles and then Paste styles (or, use Ctrl/Cmd + Shift + V as a keyboard shortcut), and you're all set!
If you've selected different types of markers or a group to paste your settings onto, don't worry! The settings you've copied will only apply to the markers of the same type.
Bear in mind that all the settings from the original marker you copied, will be pasted onto the selected markers that match your copied marker type. If you've copied settings you didn't want to apply, you can restore the previous version of your map by clicking the Edit history button in the top right hand corner!
Duplicating markers
Let's say you're not sure how to style a marker or a set of markers in your map, and you'd like to try out a style before committing to it. Duplicating markers could help; you can copy any amount of markers, or entire groups of markers, by selecting them first, hitting the menu icon after selecting the marker(s) to be duplicated, and clicking Duplicate.
Grouping, hiding, and locking markers (or, how to use the multi-select bar)
When you select more than one marker, a bar with further options will appear across the bottom of your marker list. That's the multi-select bar, where you can make decisions that will apply to all of the selected markers – that includes hiding, locking, grouping, and deleting your markers.
Grouping markers sets all of the markers you've selected into their own folder, where they can be edited together, locked in place, or simply moved out of the way in the marker list if you're finished editing them. To group markers, you'll first want to select all markers that belong in your final group, and then either click the Group button in the multi-select bar, or use the keyboard shortcut Ctrl/Cmd + G.
If you need to ungroup markers, you can select the group and use the keyboard shortcut Ctrl/Cmd + Shift + G, or click on the menu icon and select Ungroup.
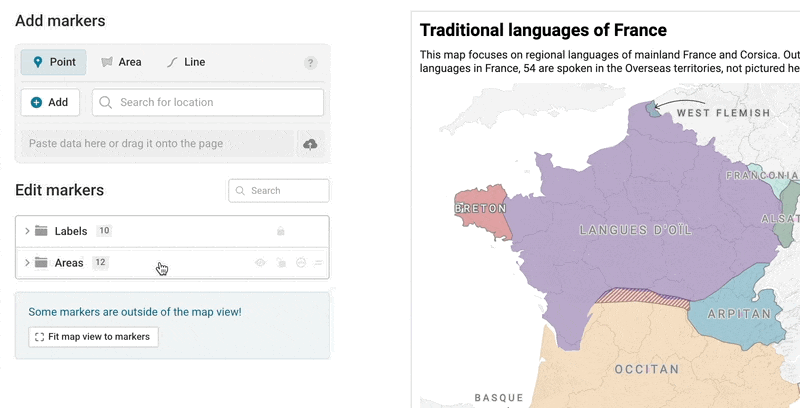
Hiding markers with the eye icon or with the keyboard shortcut Ctrl/Cmd + Shift + H, will remove them from your map. Even though they're not visible on the map, you can still access them in the marker list and unhide them if you need to!
You can also hide entire groups of markers with one click, if you have them grouped, by simply clicking the eye icon next to the group name. Individual markers will remember their own initial state (whether that was hidden or unhidden), so if you move them out of the group, they'll revert to that visibility automatically.
Locking a marker prevents it from being moved on your map, and is especially useful for point markers. You can lock the position the marker is in when it's in the correct spot, and ensure it won't be moved by accident through the rest of the editing process.
And that's it! You now know about ways to edit multiple markers. If you'd like to try it out for yourself, you can build your own locator map from scratch, or take some inspiration from this article with example locator maps. But, if anything's unclear or not working how it should, let us know at support@datawrapper.de