How to upload markers to a locator map
To create a locator map, go to datawrapper.de and click on "New Map" and then "Locator map." This will open the locator map creation pipeline. Four steps will lead you to your final map: 1: Add markers, 2: Design map, 3: Annotate, and 4: Publish. In this article, we will focus on adding markers.
There are three types of markers supported in locator maps; that's point markers, area markers, and line markers. Points are for calling attention to a particular specific location, area markers can be used to highlight a region or show boundaries, and line markers are useful to draw routes or connections between places.
There are a few different methods of adding your markers to a locator map, depending on which type of marker you're using.
Let's go through the options to add markers to your map!
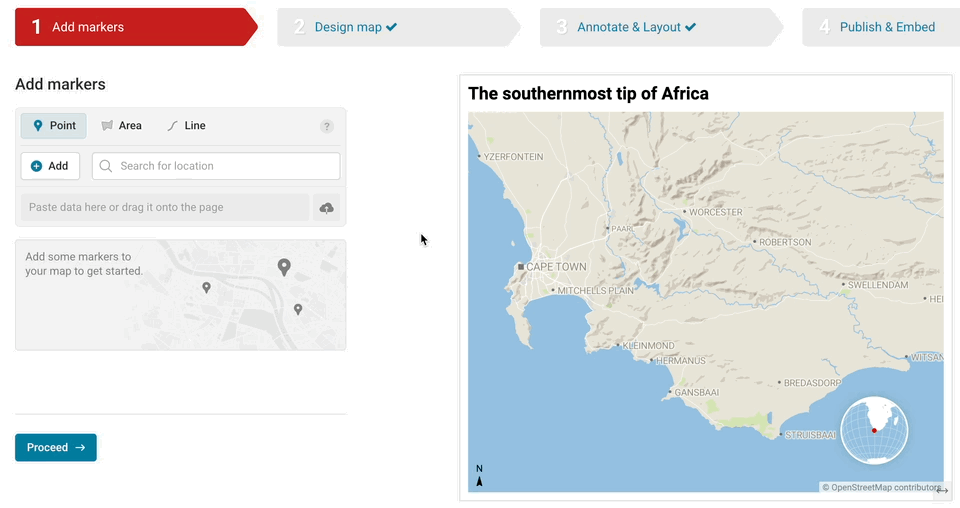
Add point markers with the add button
This will add a marker in the middle of your map viewport. After adding it, you can also drag the marker to the correct position if needed, so don't worry too much about positioning the viewport exactly!
Add point markers by copying coordinates or a Google Maps link
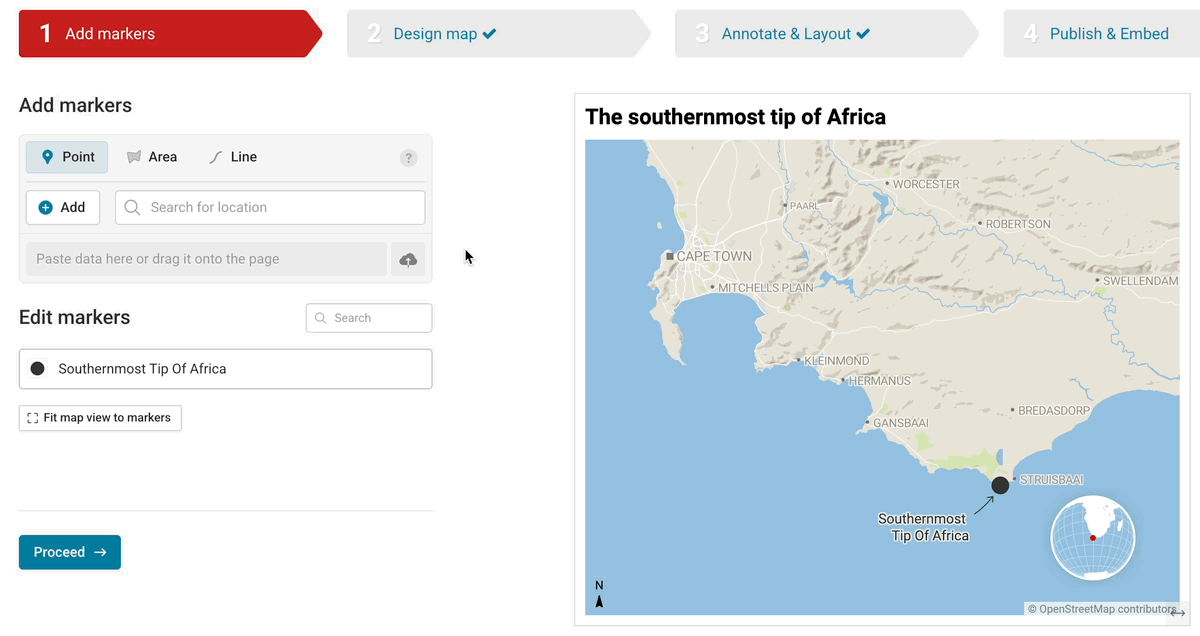
If you have coordinates for a point or a link to the Google Maps location you'd like to display, you can simply paste that into the search bar at the top, and the point will be generated at that spot.
For a Google Maps link, you'll want to pull the URL directly from your URL bar, which gives you a link including the place name and the coordinates. For example, you can use a link like this: https://www.google.de/maps/place/Southernmost+Tip+Of+Africa/@-34.8305819,19.9871154,15z
Which would give you a point like this:

Add point or area markers by searching for a place
If you know the name of a point or area that you'd like to create a marker for, you can simply select the type of marker you're adding, and search for it by name.
Before using this feature for area markers, you might want to zoom in: On the world map, you’ll only be able to select countries. Once you zoom to a country, you’ll see counties, federal states, and eventually city districts in the list of regions. Before you commit, we show you a preview of the region you hover over in the region list. That’s especially useful if you’re designing a map about a part of the world you don’t know well.
You can add regions in the Add markers step, by choosing what type of marker you'd like to add, and then searching for your place or area.
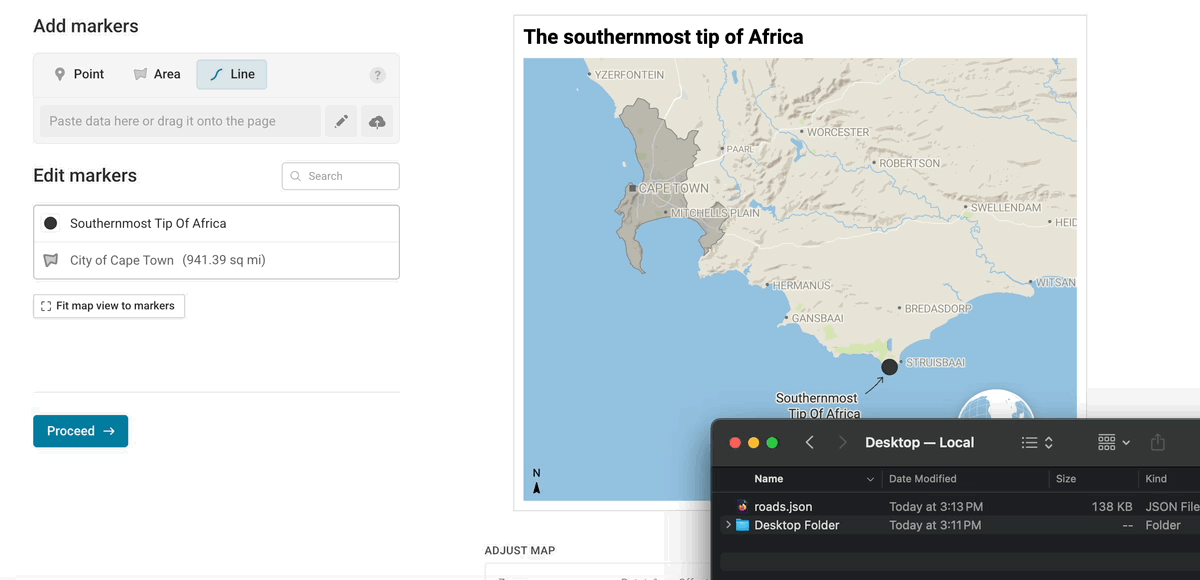
Add any type of marker by uploading a GeoJSON, CSV, or KML
If you have a lot of markers to upload, or precise geodata for your markers, uploading a file containing those markers might be a great option. Locator maps support GeoJSON, CSV, GPX, or KML files, which can enclose information about all three of our different marker types. File uploads have some prerequisites to be used in Datawrapper; to use them in a locator map, your file needs to:
- be a valid file (for GeoJSON files specifically, you can check their validity with this online tool).
- be smaller than 2MB. The larger your file, the longer it takes for your map to load for both viewing and editing. Try to keep it as small as possible.
- Any properties added to your markers add weight to the file, so if your file is too big, you may want to consider filtering out any extraneous attribute fields which aren't relevant to your end locator map.
- If your GeoJSON is too big, you can go to mapshaper.org, upload your GeoJSON, and try to simplify the geometry. Click the "Simplify" button in the upper right, followed by "Apply." Then drag the slider at the top as far to the right as you can while the geometry still looks good enough. The displayed percentage tells you how much of the data size is left. Typically you can go down to 10-15% without noticing a big difference. When you're done, click "Export," select GeoJSON, and re-upload the data to Datawrapper.
- use the WGS-84 coordinate system (EPSG:4326 projection)
- include coordinates
- have fewer than 20 differently styled features
If your file doesn't meet the requirements, or has formatting issues, you'll get an error message detailing what went wrong, and you can resolve it and re-upload your file.
You can upload GeoJSON, CSV, or KML files by dragging and dropping them into the editor, or by clicking the little upload icon and selecting the file from your computer, to add them to your map.
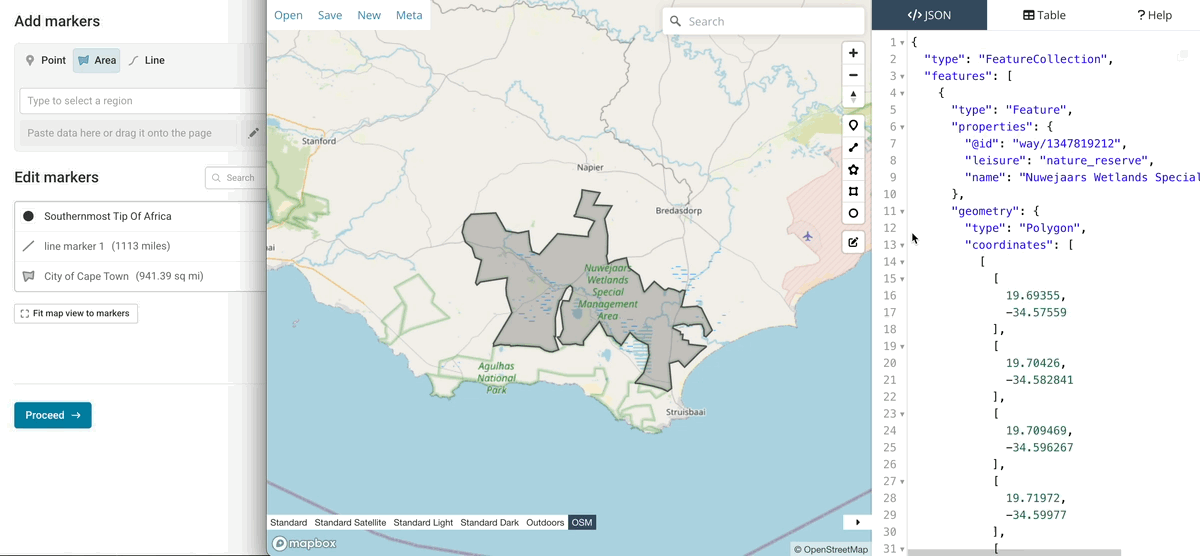
If you have GeoJSON data copied to your clipboard, you can also paste that directly into the text field next to the pencil icon:
Is there a limit to the markers you can add?
There is: You can add markers in any of these formats to your locator maps as long as they don’t sum up to 2MB in total. With this limit, you can add lots of markers, and your maps will load fast once you embed them.